-
If you want to add a receipt:
-
While adding or updating a trip, scroll down to the "Receipts" section and tap the
 button. button.

-
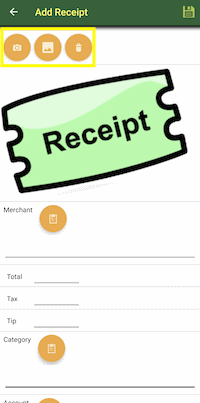
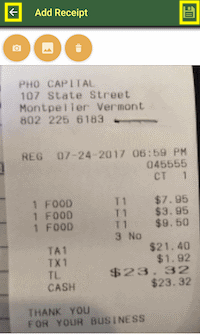
Next you can choose to take a picture of the receipt or select it from your camera roll if an image already exists.
-
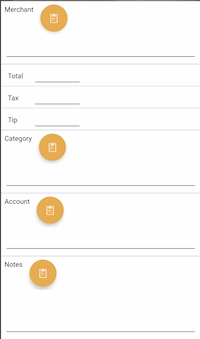
In additional to adding the receipt, you can also enter the merchant, total, tax, tips, category, account and notes.
-
After entering the details, tap the
 button to commit your changes or tap the button to commit your changes or tap the  button to lose any changes. button to lose any changes.
Note: you still need to save the trip.

-
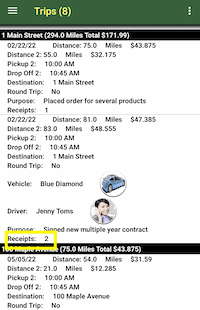
Once saved, the Trips screen will display the count of receipts for each trip
-
To update a receipt
-
Scroll down to the "Receipts" section and tap the receipt
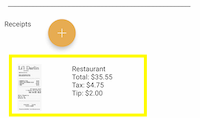
-
Then update the receipt by tapping the
 or or  button. button.

-
After entering the details, tap the
 button to commit your changes or tap the button to commit your changes or tap the  button to lose any changes. button to lose any changes.
Note: you still need to save the trip.

-
To delete a receipt
-
Scroll down to the "Receipts" section and tap the receipt
-
To delete the receipt tap the
 button on the toolbar at the top button on the toolbar at the top

Note: you still need to save the trip.

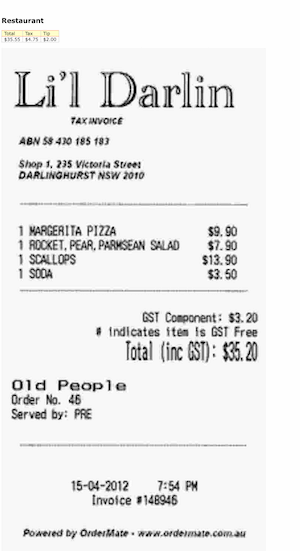
When you export your trips, all receipts for those trips will be included in a single yet separate file from the report of your trips.
|
This is how you backup and share trip data between multiple Android Phones, Tables, Chromebooks, Kindle Devices, iPhones, iPads, iPods, or Macs:
-
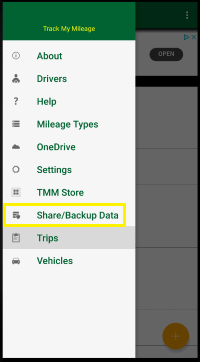
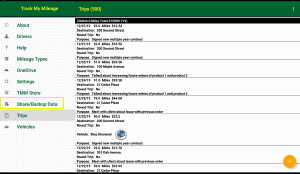
Tap "Share/Backup Data"
-
On the Backup Export Options screen you have these options:

-
Filename: the name of the output file
-
To continue tap the
 button button

-
Next, choose the option to share your trip data with:
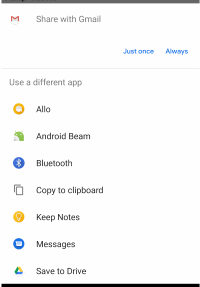
-
If you choose email then enter a email address that the devices you would like to share the data with can access then tap the "Send" button.
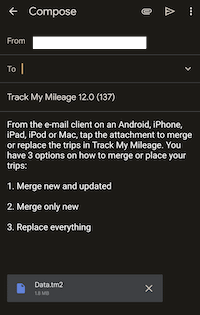
-
On the other devices, open the email and tap the attachment, then if needed, tap the option to open the attachment with TMM.
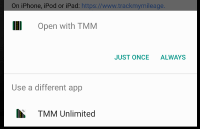
-
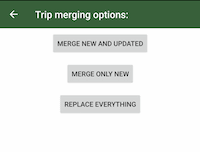
Track My Mileage will launch, then choose the merging option that meets your needs:
-
"Merge new and updated" will add any new trips and update any existing trips that have been modified
-
"Merge only new" will only add any new trips
-
"Replace everything" will overwrite all your current trips
-
Once the process is complete, the trips will reload.
|
-
Access the Settings page. (tap here to learn how)
-
Scroll down to the "Date/Time Format" section.
-
Tap the "Date" drop down list.
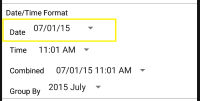
-
Tap the row with format you would prefer.
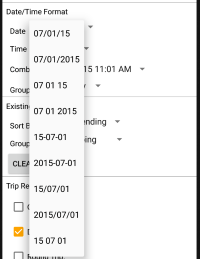
Updated format:
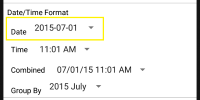
If you don't see the format you would like, please contact us and we will try to add it in a future update.
|
|
Excluding any cloud services which require an active subscription, you can now purchase all one time purchase add-ons by following these steps:
-
Access the TMM Store (tap here to learn how)
-
Scroll down to the "Bundles" section and tap the "Ultimate" row.
-
When you are ready to purchase, tap the Buy button and follow the instructions.
|
Yes, the work number field can be added by following these steps:
-
Access the TMM Store (tap here to learn how)
-
Scroll down to the "Single Items" section and tap the "Add Work Number" row.
-
When you are ready to purchase, tap the Buy button and follow the instructions.
|