|
We now offer several formatted reports. This way you don't have to apply formatting whenever you want to print the report and the report can be view by anyone with a PDF reader or web browser. To view the currently available reports:
- Access the TMM Store (click here to learn how)
- Scroll down to the "Single Items" section and click on the "Formatted Report #..." row but if you want to see any discounted bundles that include this add-on then:
- Click the
 button in the lower left corner to open the store assistant popup button in the lower left corner to open the store assistant popup
- Then scroll down to and click the Formattted Report row
- Next click the TMM Store window to close the assistant and return to the filtered store listing
- Finally click the add-on you are interested in from the bundles or single items section
- Details about the purchase along with screenshots will be provided on the right side of the screen. When you are ready to purchase, click the buy button in the upper right corner of the screen and follow the In-App purchase instruction provided by Apple to complete the purchase. The next time you email the report, the purchased report will also be attached.

|
|
The client field can be added by following these steps:
- Access the TMM Store (click here to learn how)
- Scroll down to the "Single Items" section and click on the "Add Client Field" row but if you want to see any discounted bundles that include this add-on then:
- Click the
 button in the lower left corner to open the store assistant popup button in the lower left corner to open the store assistant popup
- Then scroll down to and click the Client Field row
- Next click the TMM Store window to close the assistant and return to the filtered store listing
- Finally click the add-on you are interested in from the bundles or single items section
- Details about the purchase along with screenshots will be provided on the right side of the screen. When you are ready to purchase, click the buy button in the upper right corner of the screen and follow the In-App purchase instruction provided by Apple to complete the purchase.

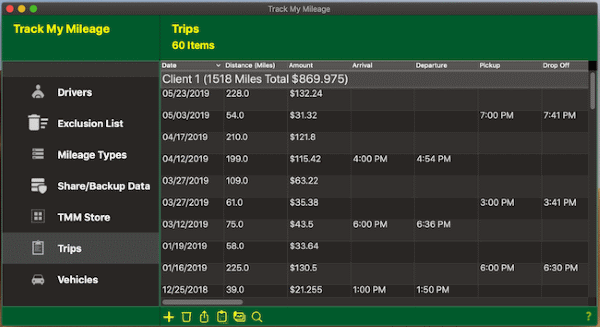
Buying this add-on allows you to generate reports with total mileage and total reimbursement for each client.
|
|
We now offer several formatted reports. This way you don't have to apply formatting whenever you want to print the report and the report can be view by anyone with a PDF reader or web browser. To view the currently available reports:
- Access the TMM Store (click here to learn how)
- Scroll down to the "Single Items" section and click on the "Formatted Report #..." row but if you want to see any discounted bundles that include this add-on then:
- Click the
 button in the lower left corner to open the store assistant popup button in the lower left corner to open the store assistant popup
- Then scroll down to and click the Formattted Report row
- Next click the TMM Store window to close the assistant and return to the filtered store listing
- Finally click the add-on you are interested in from the bundles or single items section
- Details about the purchase along with screenshots will be provided on the right side of the screen. When you are ready to purchase, click the buy button in the upper right corner of the screen and follow the In-App purchase instruction provided by Apple to complete the purchase. The next time you email the report, the purchased report will also be attached.

|
- Click Share/Backup Data
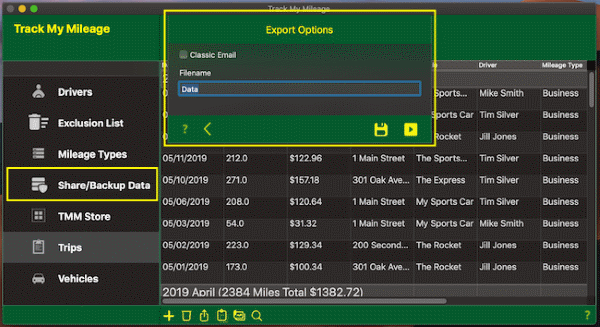
- Next on the Backup Export Options screen you have these options:
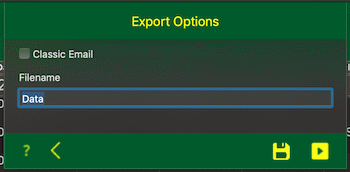
- Classic Email: this option disables the share sheet and goes directly to email.
- Filename: the name of the output file
-
- To save the backup of your trips to your computer, click the
 button, then select the location button, then select the location

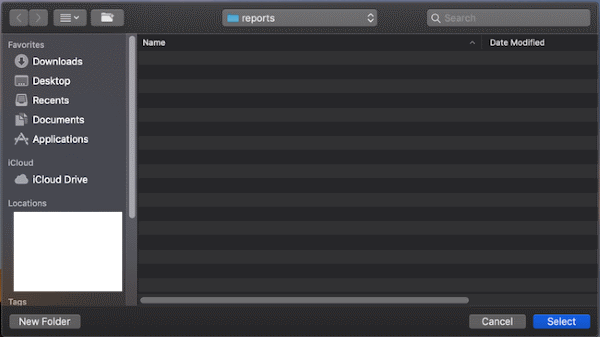
- To import the saved file, go to folder and double click the file
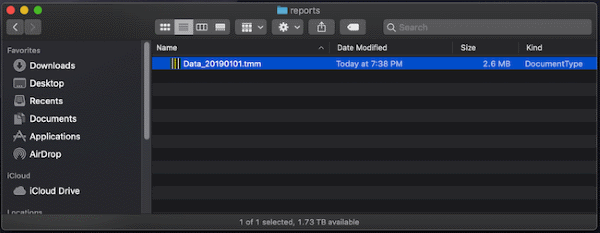
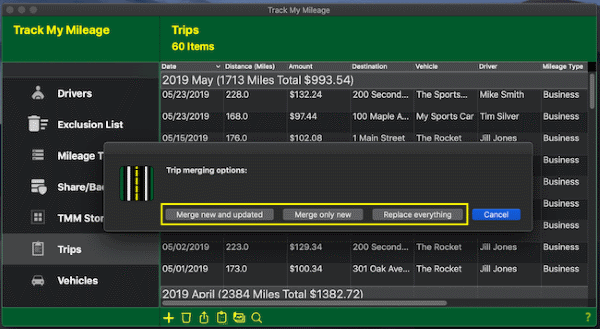
- Track My Mileage will launch, then choose the merging option that meets your needs:
- "Merge new and updated" will add any new trips and update any existing trips that have been modified
- "Merge only new" will only add any new trips
- "Replace everything" will overwrite all your current trips
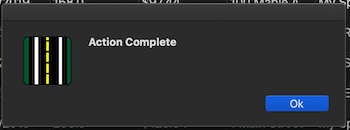
- Once the process is complete, the trips will reload.
-
- To AirDrop or Email your trips click the Continue button then choose the option.
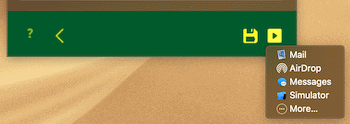
With AirDrop, you can wirelessly share and backup your trips to a nearby iPhone, iPad, iPod touch, or Mac.
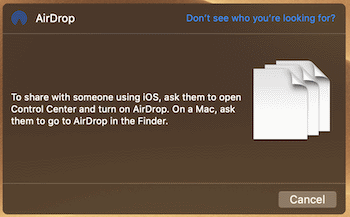
AirDrop
- If you choose to email the backup:
- Enter an email address that the devices you would like to share the data with can access then click the Send button.
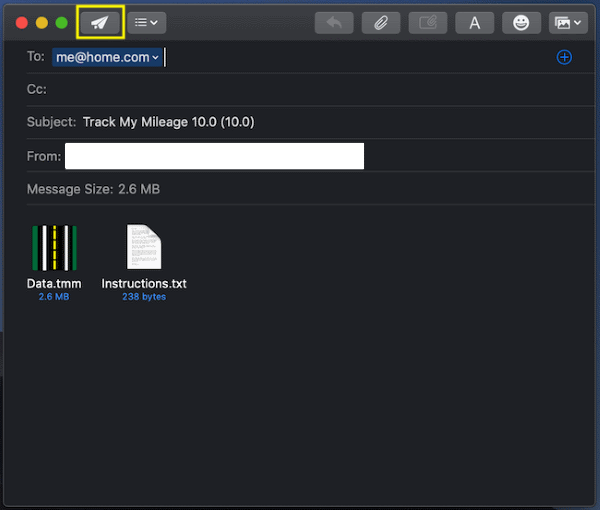
- On the other devices, open the email and click the attachment.
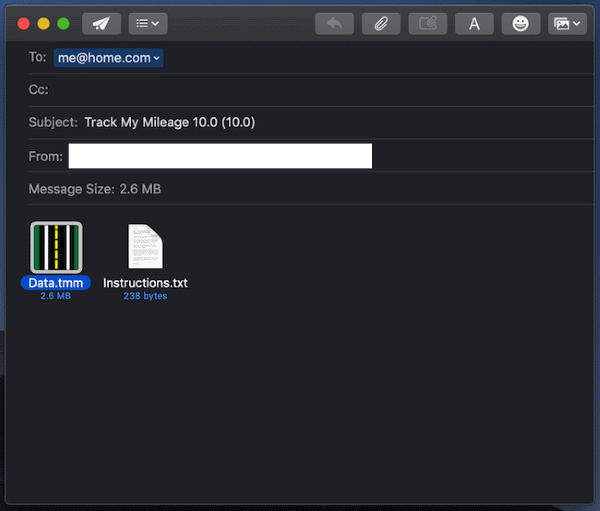
- Track My Mileage will launch, then choose the merging option that meets your needs:
- "Merge new and updated" will add any new trips and update any existing trips that have been modified
- "Merge only new" will only add any new trips
- "Replace everything" will overwrite all your current trips

- Once the process is complete, the trips will reload.

|
- Click Trips then click the
 button below the list of trips: button below the list of trips:
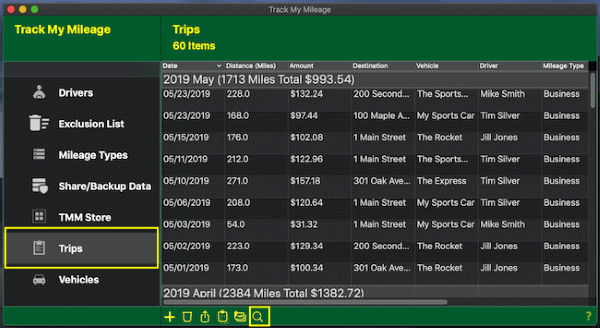
- Note: the visual difference of the
 button when filtering is active button when filtering is active

 - No active filtering - No active filtering
 - Trips are being filtered - Trips are being filtered
- The Filter page is divided into the Date Range and Columns sections which combine to filter the trips.
- The Date Range section allows you to filter using the recorded date/time column.
You can provide a start and/or through date.
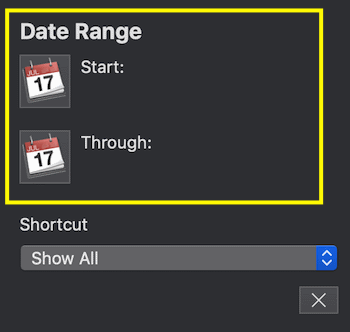
To update the start or through date, be sure to click the  button: button:
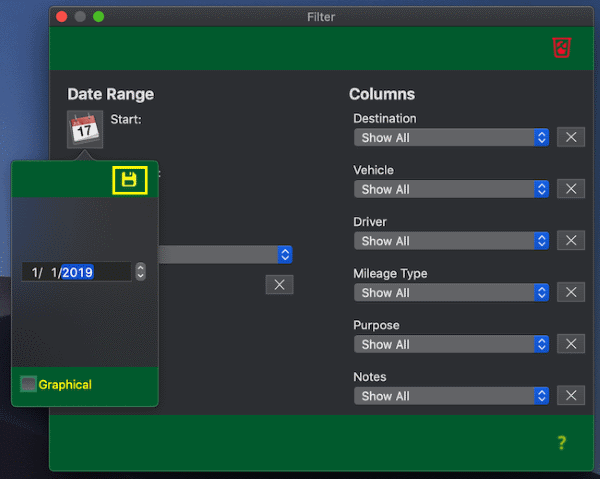
Or
You can choose a date range shortcut which will automatically calculate and display the start and through date based on the current date.
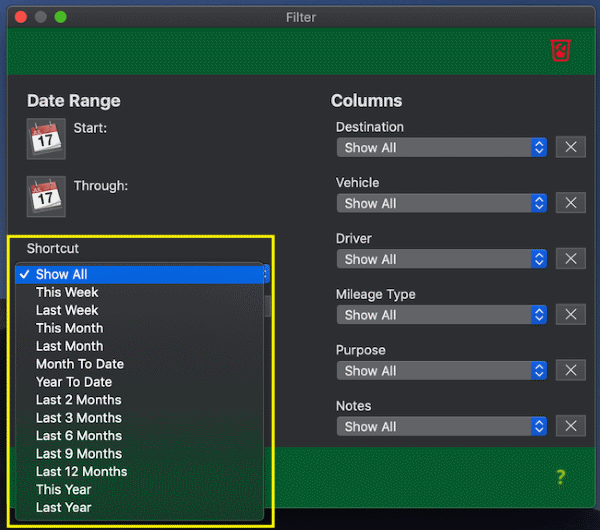
NOTE: Editing the start and/or through date manually will disable the automatic calculation of the date range.
- The "Columns" section allows you to filter by the origin, destination, vehicle, driver, client, mileage type, purpose, notes, status and/or business columns.
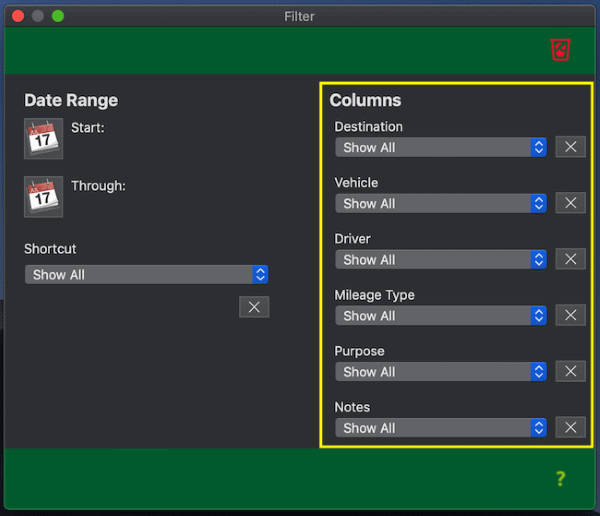
- If you want to clear all existing filters, click the
 button in the upper right corner of the page: button in the upper right corner of the page:
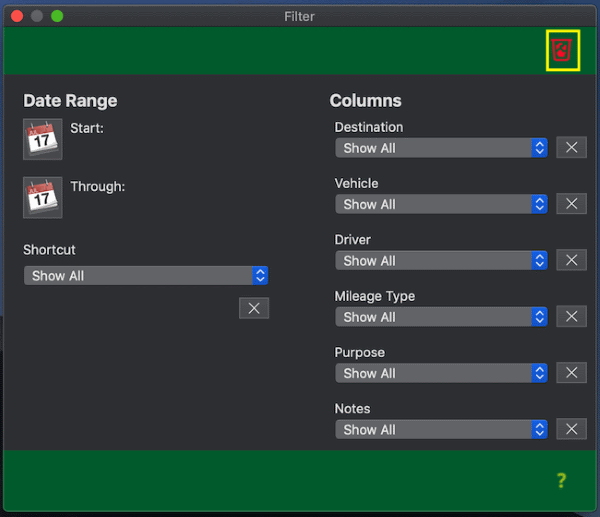
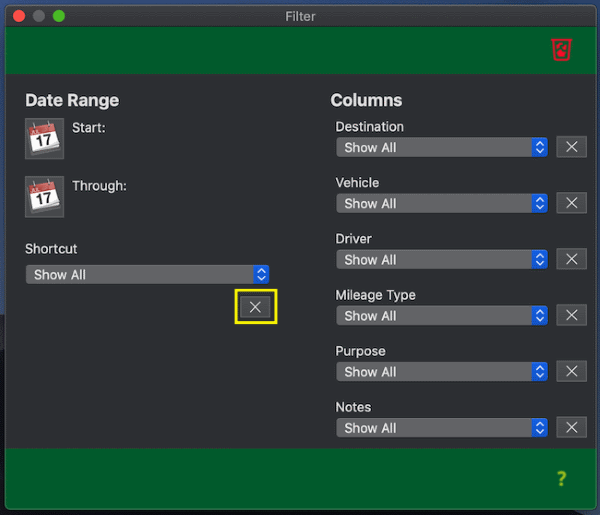
To clear just the start and through dates, click the  button at the bottom of the Date Range section. button at the bottom of the Date Range section.
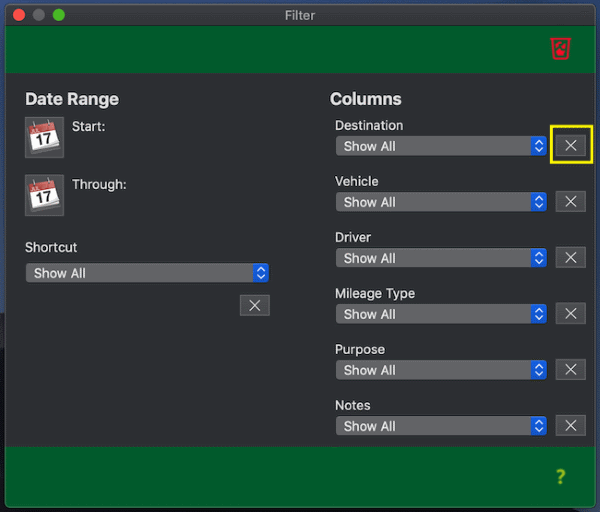
To clear the existing filter for a single column, click the  button to the right. button to the right.
|