|
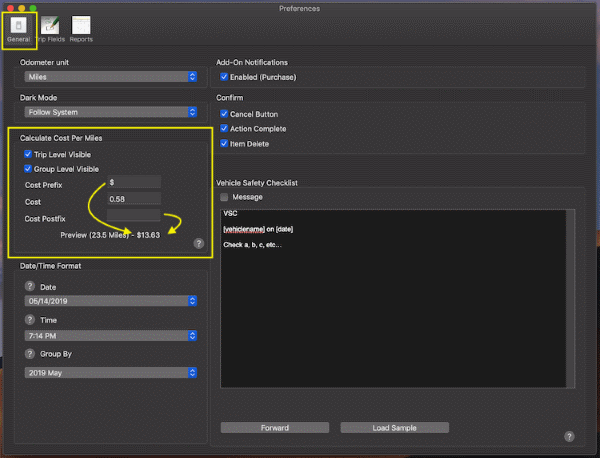
Trips not linked to a mileage type use the global rate which can be changed on the preferences pane.
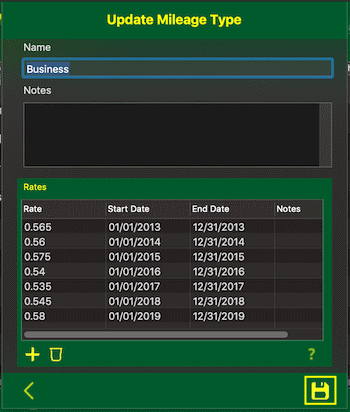
Trips linked to a mileage type will use one of the rates setup for that mileage type where the date of the trip falls in between the start and the end of the rate.
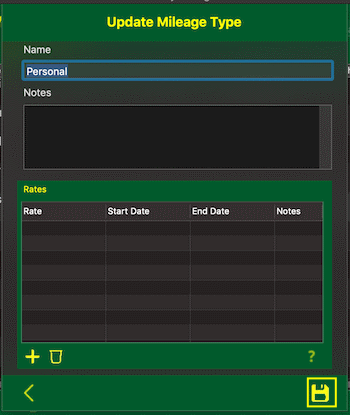
If you need to track some trips that don't need a rate calculation then setup a mileage type, for example called personal, with no rates and link those trips to that mileage type.
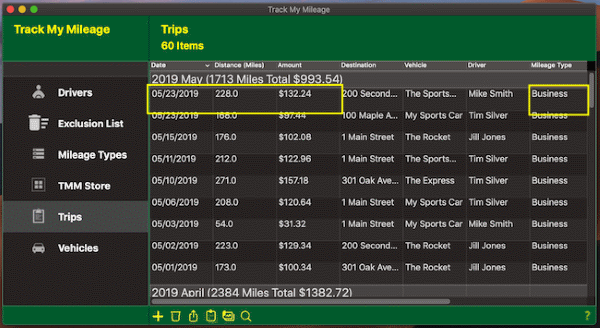
If you linked a trip to a mileage type but the rate is not being calculated, confirm that you have a mileage rate with a start and end date that the date of the trip falls in between. For example if you only have a single rate with a start date of the first of last year and the end date is the end of last year, then trips for this year will not a have a calculation.

|
- Click Mileage Types
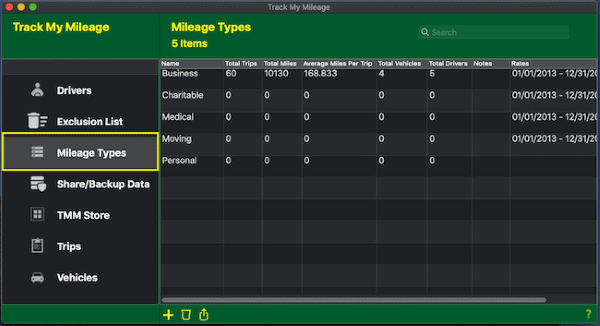
- Double click the mileage type you want to edit the mileage rate(s) for
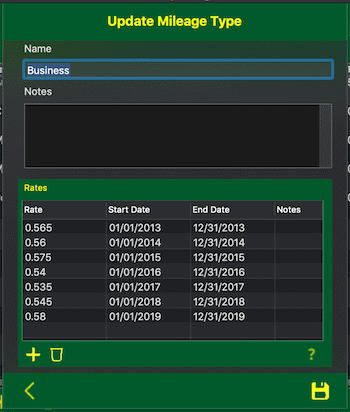
- If you want to add a rate:
- Click the
 button at the bottom of the rate list. button at the bottom of the rate list.

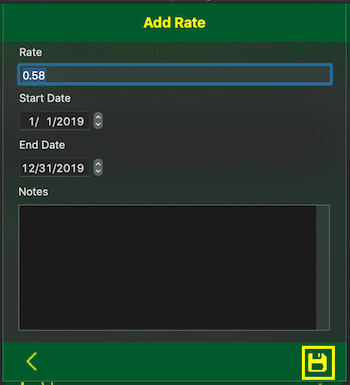
- After entering the details,
 button to commit your changes or click the button to commit your changes or click the  button to lose any changes. button to lose any changes.
- If you want to update a mileage rate:
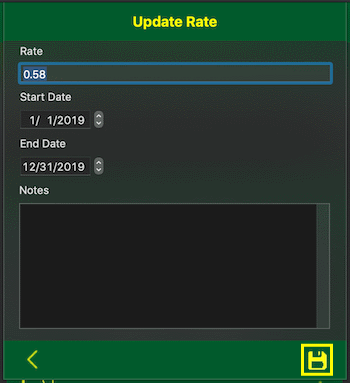
- Double click the mileage rate you want to update.
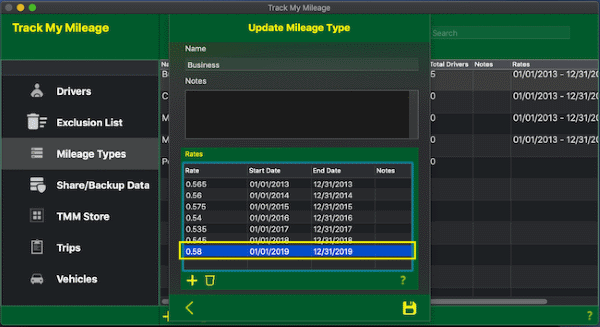
- The Update Rate page will then load with the details for that mileage rate, after updating the details,
 button to commit your changes or click the button to commit your changes or click the  button to lose any changes. button to lose any changes.
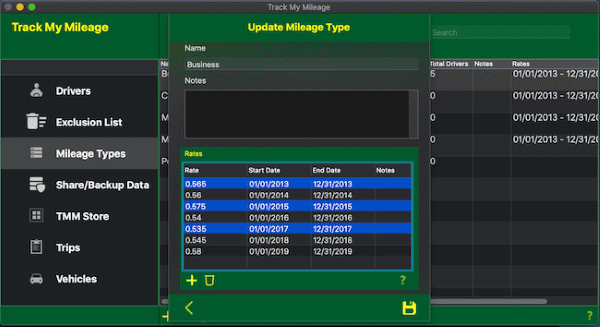
- If you want to delete mileage rate(s):
- Hold down the Command key and single-click on multiple items.
or
The Shift key lets you select a group of items that are contiguous, or next to each other in the list. Single-click on the first item you want to select in a list. Then hold down the Shift key and click on the last item you want in the list. Everything between the two clicks will be selected.
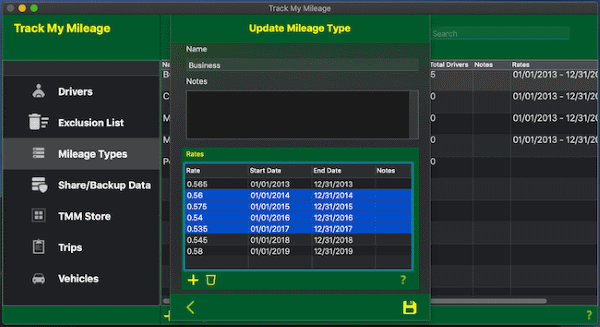
- To complete deleting the selected rows, click the
 button at the bottom of the list. button at the bottom of the list.

|
|
The checklist is your list of safety checks that should be performed on a daily basis. When the checklist is enabled, you will be prompted once per day for each vehicle to confirm you performed the safety checks
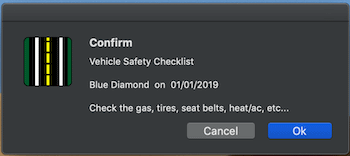
and the Confirmed Checklist column with a yes or no value will the added to the exported report of your trips.
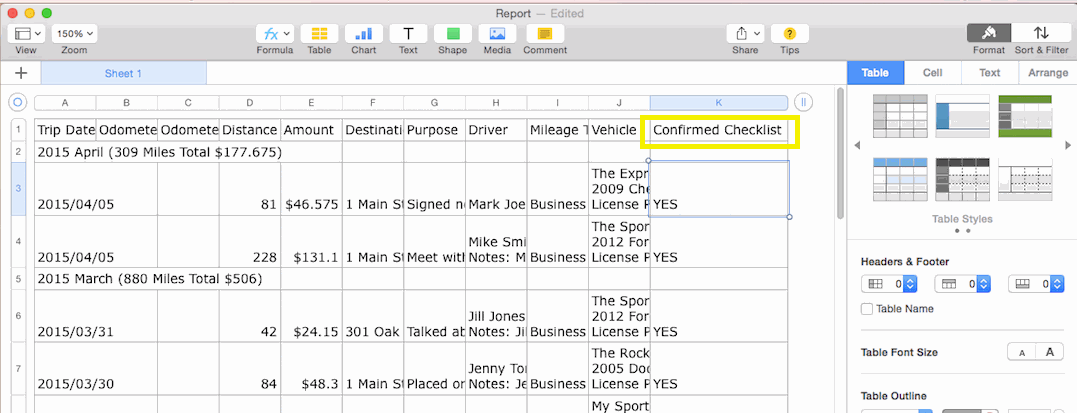
To setup the checklist:
- Access the preferences pane.
Keyboard shortcut: Command key (it has a ⌘ symbol) and then the ","
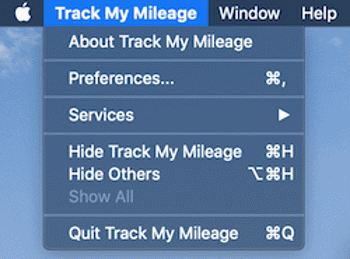
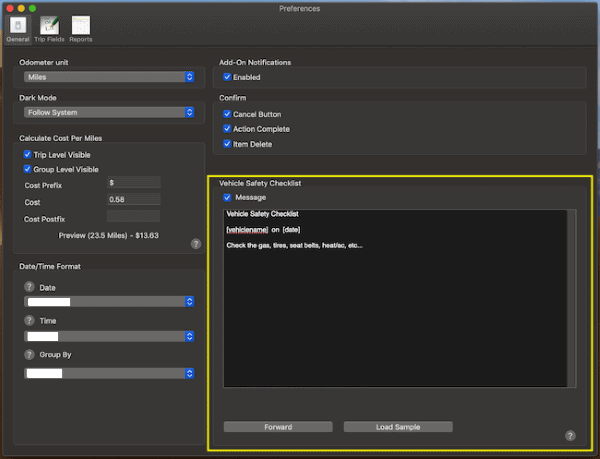
- Click the General tab then in the Vehicle Safety Checklist section
Type in your checklist. Add the vehicle name and/or date placeholder shown below to have the vehicle name and/or date merged into your checklist.
Vehicle name placeholder: [vehiclename]
Date placeholder: [date]
To actually turn on the checklist feature, check the Message checkbox
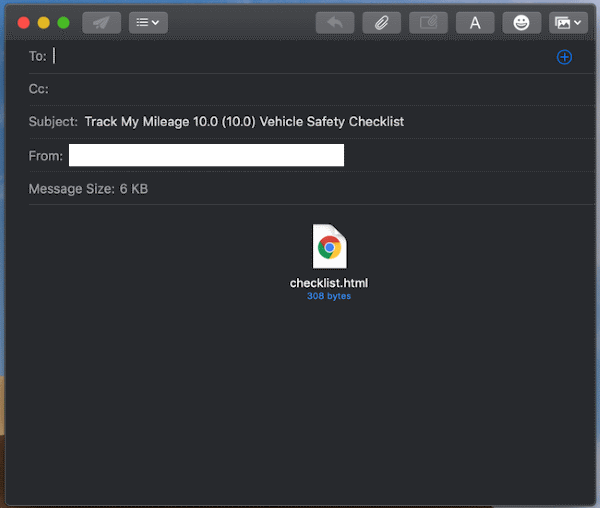
- If you need to distribute the checklist, send it by email by tapping the Forward row and providing their email addresses. On the recipients end all they need to do is open the attachment and follow the instructions to update their checklist.
|
Open each email from each your drivers and follow these instructions:
-
Tap the attachment in the email
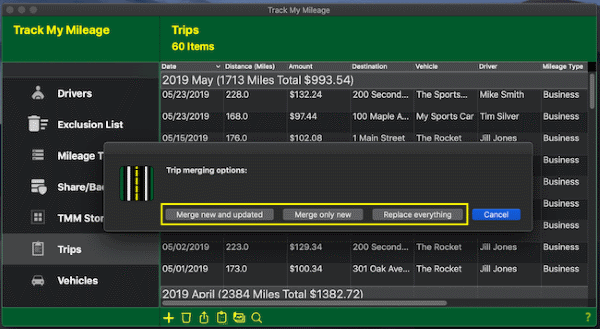
Next you will choose the trip merging option that meets your needs. The current merging options are:
-
"Merge new and updated" this option will add any new trips and update any existing trips that have been modified
-
"Merge only new" this option will only add new trips. so any modifications you made to existing trips will not be overwritten
-
"Replace everything" this option will overwrite all your current trip data with just this drivers trip data
|
|
Read this post
|