|
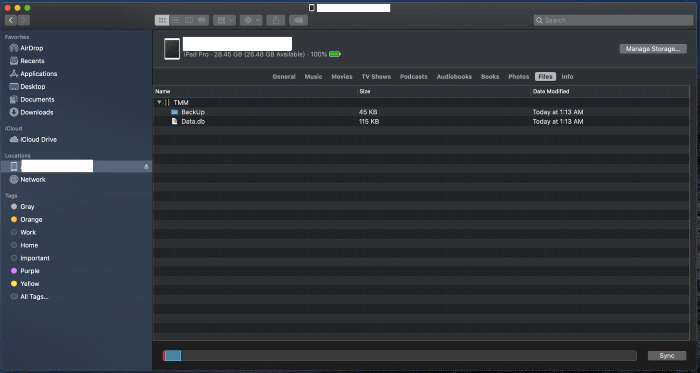
Starting macOS Catalina, you can use Finder to access the backed up reports.
If you're using macOS Mojave or earlier or a Windows PC, use iTunes to access the backed up reports. (tap here to learn how)
- Open a Finder window.
- Connect your iPhone, iPad, or iPod touch to your computer with a USB cable.
- Select your device in the Finder. Tap here to learn what to do if your computer does not recognize your device.
- Click the Files tab then click the triangle next to TMM to reveal the list of existing files. Then select all files with a CSV, HTML or PDF extension, then drag the files to your computer.
|
|
Starting macOS Catalina, you can use Finder to access the backed up reports.
If you're using macOS Mojave or earlier or a Windows PC, use iTunes to access the backed up reports. (tap here to learn how)
- Open a Finder window.
- Connect your iPhone, iPad, or iPod touch to your computer with a USB cable.
- Select your device in the Finder. Tap here to learn what to do if your computer does not recognize your device.
- Click the Files tab then click the triangle next to TMM to reveal the list of existing files. Then select all files with a CSV, HTML or PDF extension, then drag the files to your computer.

|
|
Whenever you use the data sharing feature, the current trip data is backed up first just in case you need to go back. Starting macOS Catalina, you can use Finder to access the backed up data.
If you're using macOS Mojave or earlier or a Windows PC, use iTunes to access the backed up data. (tap here to learn how)
To restore a previous backup:
- Open a Finder window.
- Connect your iPhone, iPad, or iPod touch to your computer with a USB cable.
- Select your device in the Finder. Tap here to learn what to do if your computer does not recognize your device.
- Click the Files tab then click the triangle next to TMM to reveal the list of existing files. Then select the Backup folder, then drag it to your computer.

- Now open up the "BackUp" folder on your computer, look for the file with the "Date Modified" from around the time you used the data sharing feature and change the name of the file to "Data.db". The filename is case sensitive so it must be Data.db
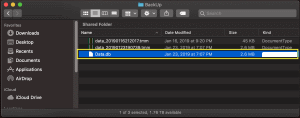
- Next drag the Data.db file to the app on your device.
- If the app is running, you will need to terminate the app so the restored data will be displayed.
|
|
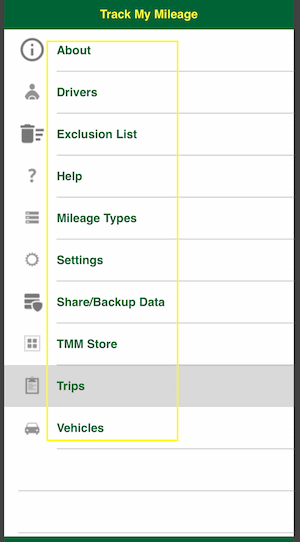
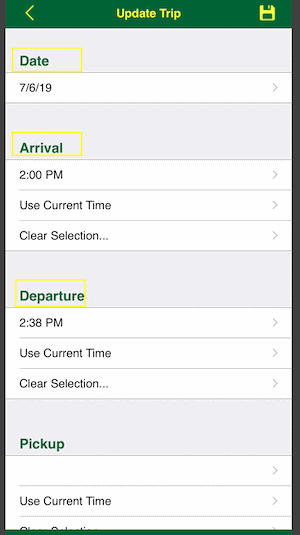
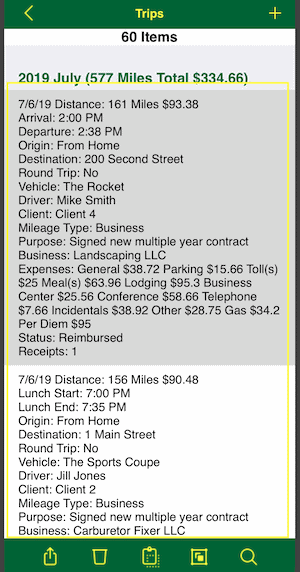
By default, there are two styles of text throughout the app, bold and non bolded plain text.
Bolded:
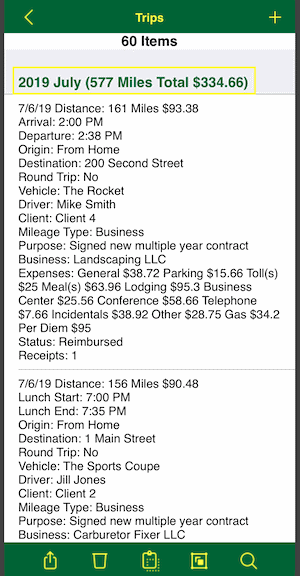
Non Bold Plain Text:
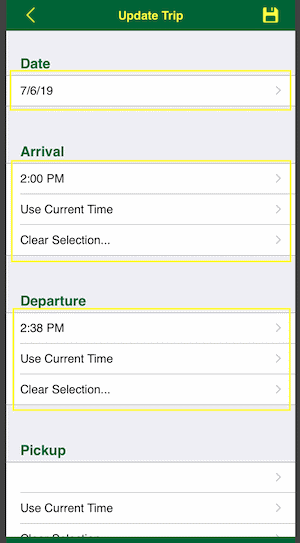
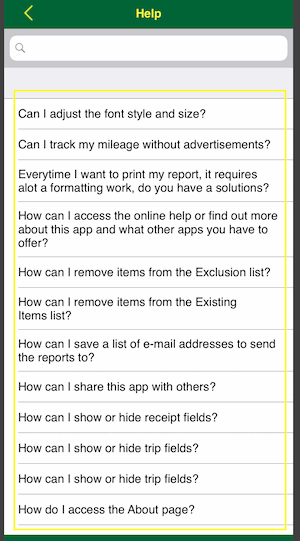
You have the ability to change the font family and style of the bold and non bold text separately. You can also increase the size of most all text throughout the app. To update these settings:
- Access the Settings Page (tap here to learn how)
- Then scroll down to and tap the "My Style" row.
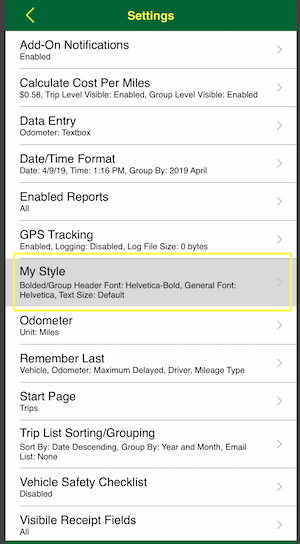
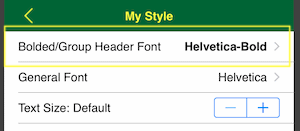
- To update the bold text, tap the Bolded/Group Header Font row
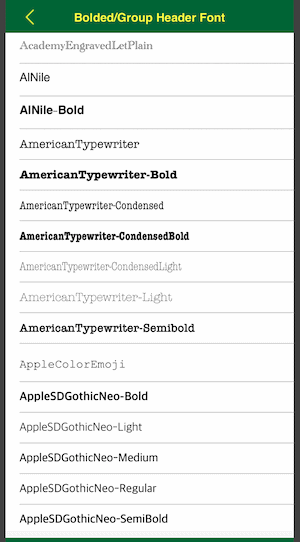
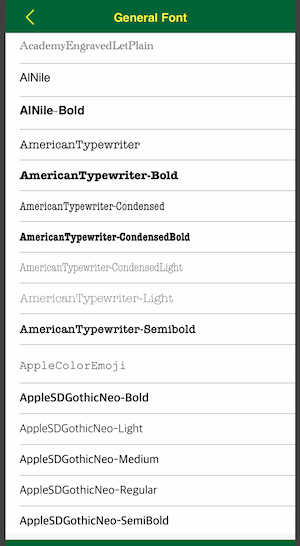
Then scroll through the list and tap the font family and style you prefer
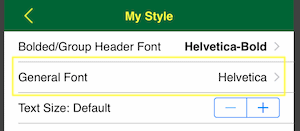
- To update the non bold plain text, tap the General Font row
Then scroll through the list and tap the font family and style you prefer
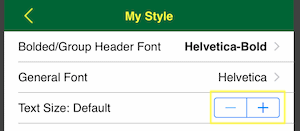
- To update the text size, tap the - or + buttons in the Text Size row
|
- Access the Settings Page (tap here to learn how)
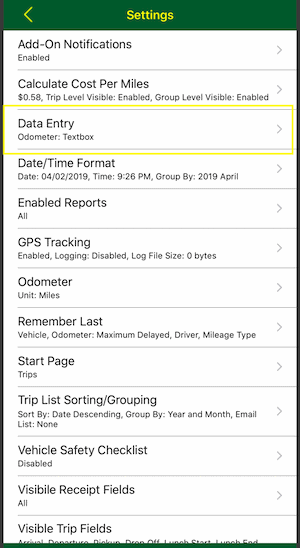
- Then scroll down to and tap the "Data Entry" row.
- Then scroll down to and tap the "Odometer" row.
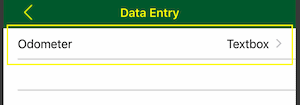
- Then tap the row with the data entry method you would prefer.
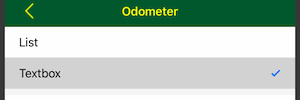
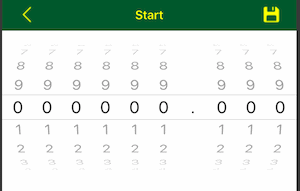
If you choose the "List" option, your data entry will look like this:
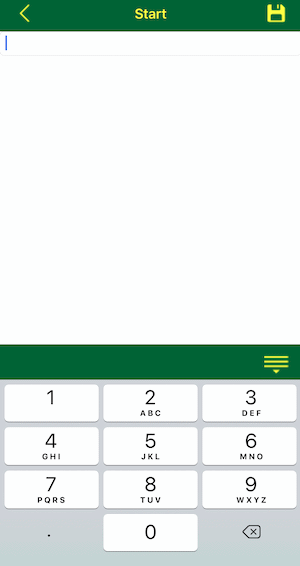
If you choose the "Textbox" option with the numeric keypad enabled, your data entry will look like this:
|